GNS3 Appliance import (example kali)
Import an Appliance into GNS3
Within GNS3, you can import different appliances. One way to do this is by using the GNS3 Marketplace.
The Marketplace is available at the following URL:
https://www.gns3.com/marketplace/appliances
When you open the marketplace, you can search for your desired appliance using the magnifying glass.
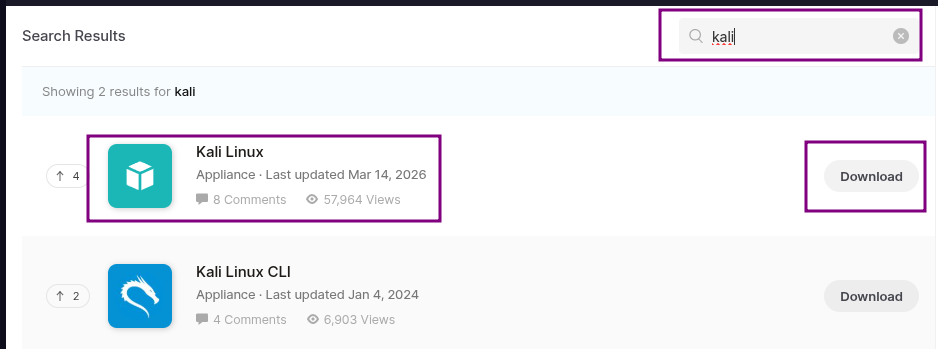
After you have downloaded the desired appliance, you can import it into GNS3.
In the GNS3 user insterface, click File and then Import appliance
You also need to download the QEMU version of Kali.
The latest version of Kali can be found at the following URL:
https://cdimage.kali.org/current/
You need to download the qemu version (kali-linux-20XX.X-qemu-amd64.7z) to your DOWNLOADS folder and extract this file.
Once you’ve extracted this file, we can proceed with importing the appliance.
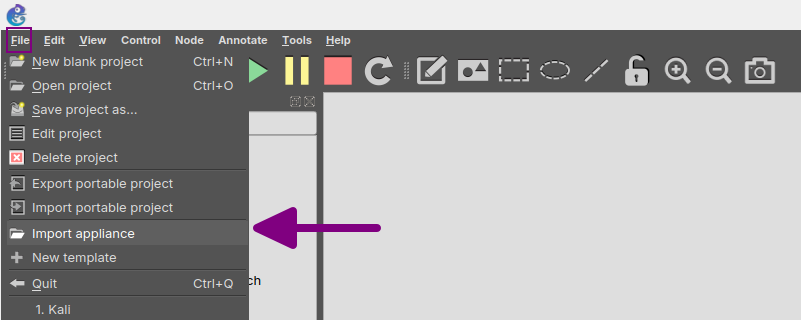
Navigate to the location where you downloaded your appliance from the marketplace and click Open.

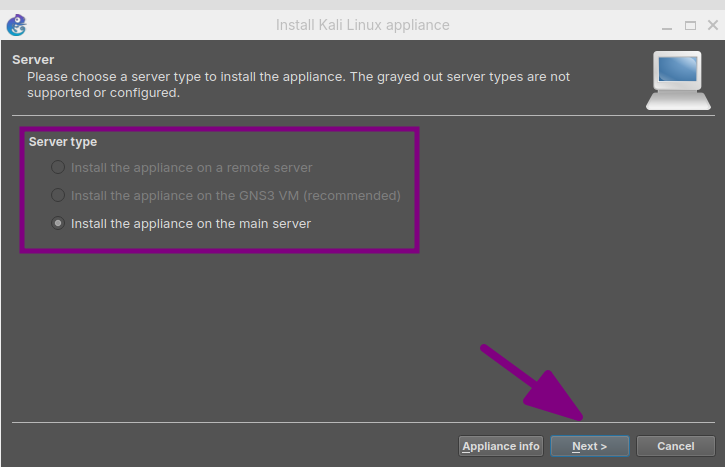
The Server window is displayed. We are using the GNS3 VM on the main server to run the appliance, so the other two options are greyed out.
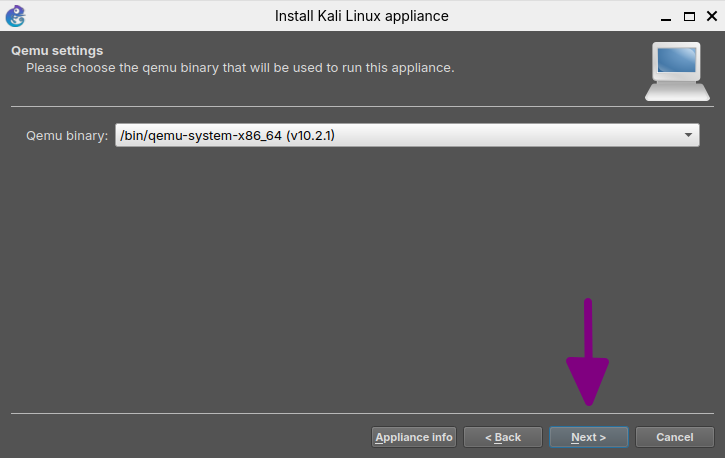
The QEMU settings window displays. Keep the setting on qemu-system-x86_64 and Click Next >:
The required files window displayed:
At the time of writing, a newer version of Kali is available, so we need to Create a new version.
You can find the latest version of Kali at the following URL: https://cdimage.kali.org/current/
Download it to your local computer and extract the file if you have not already done so.
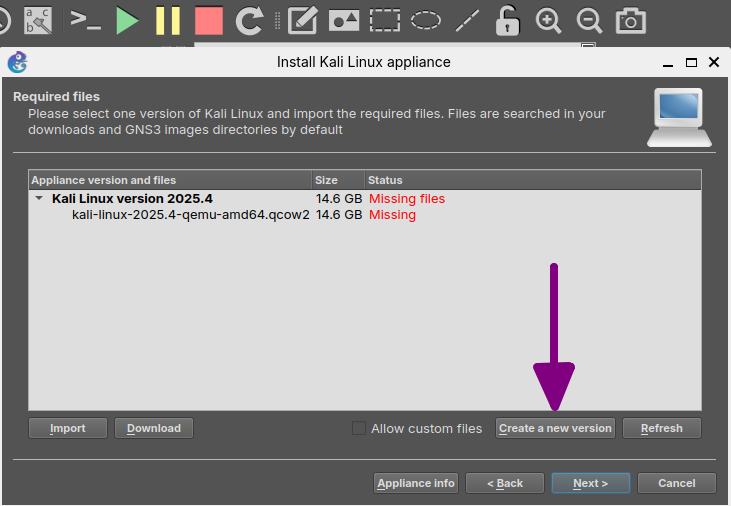
My downloaded version from https://cdimage.kali.org/current/ is version 2026.2.
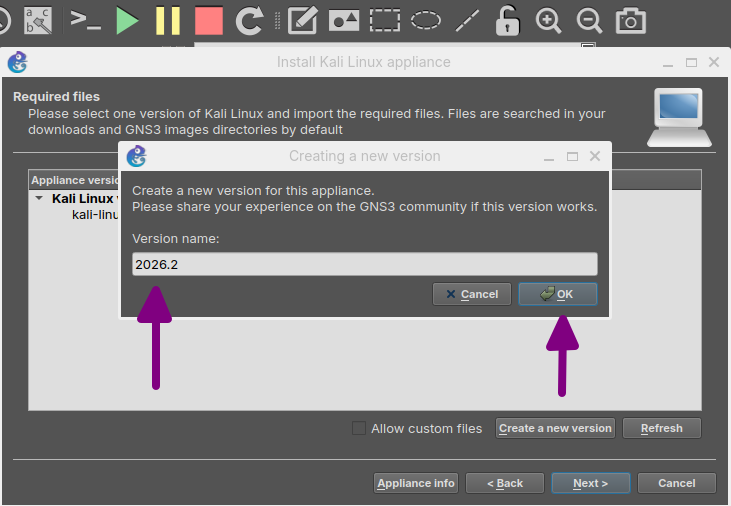
Enter the correct version number and click OK.
Select the file that you extracted in your Downloads folder and click OK.
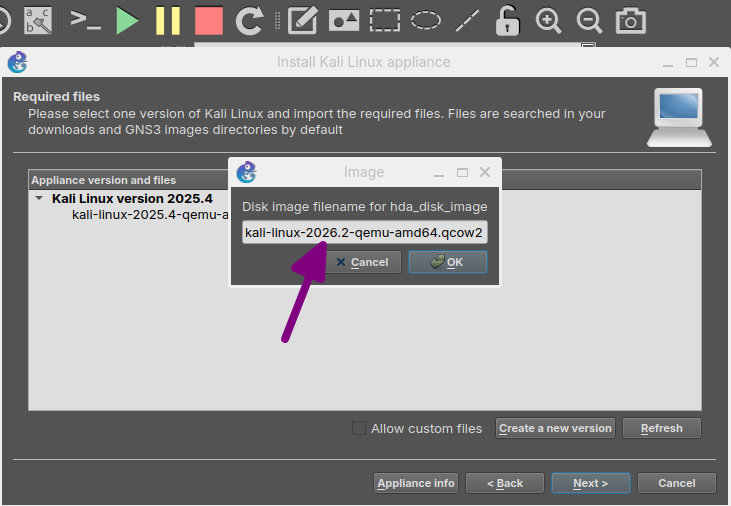
If you extracted the disk image into your Downloads folder, the disk image should be found automatically.
Select the version of the Appliance you wish to install, highlight its file name, and click Next.
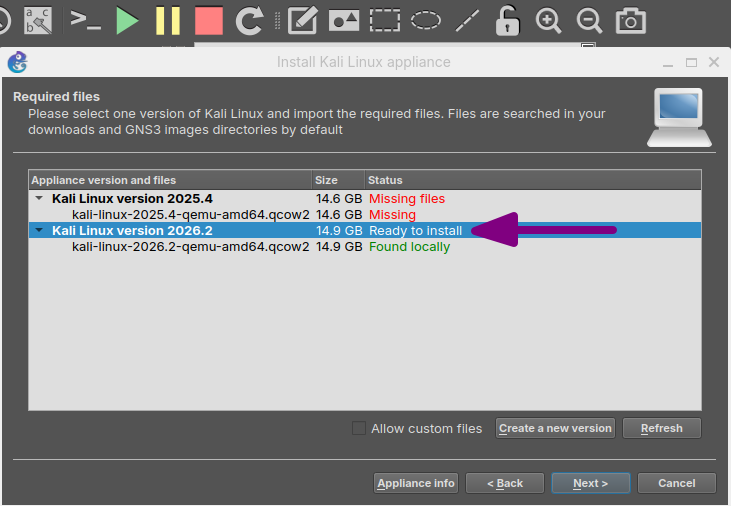
Click Yes to confirm and finish the import.
The appliance will now be uploaded. Please be patient, as this can take some time.
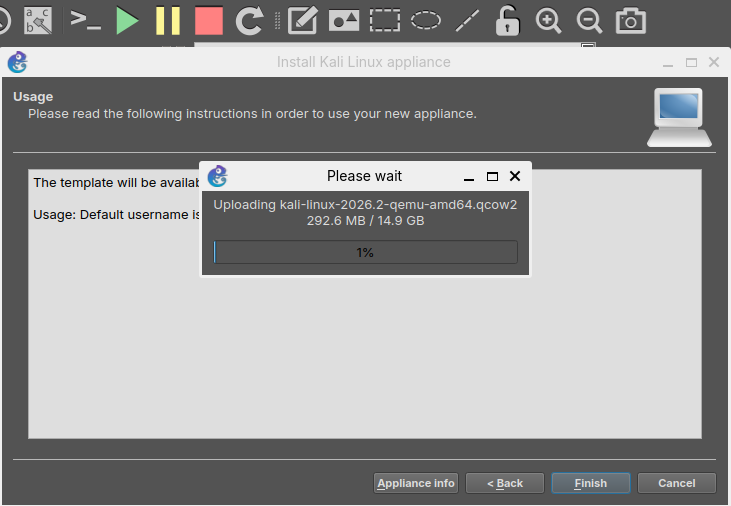
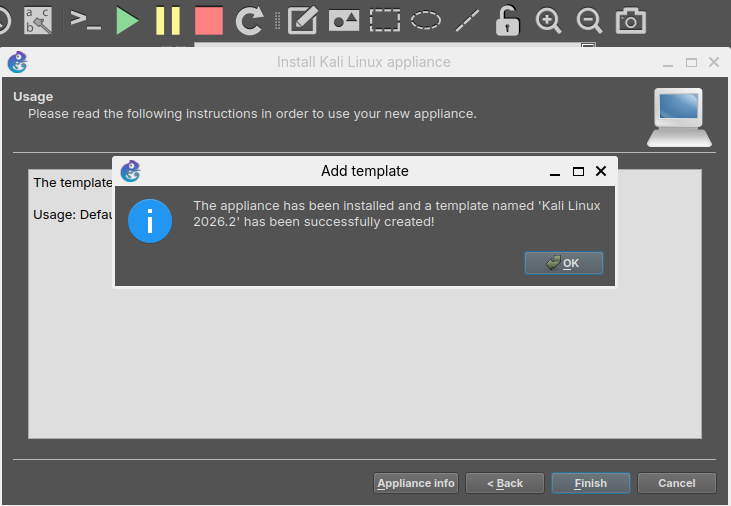
After the upload is finished, click Finish and then click OK.
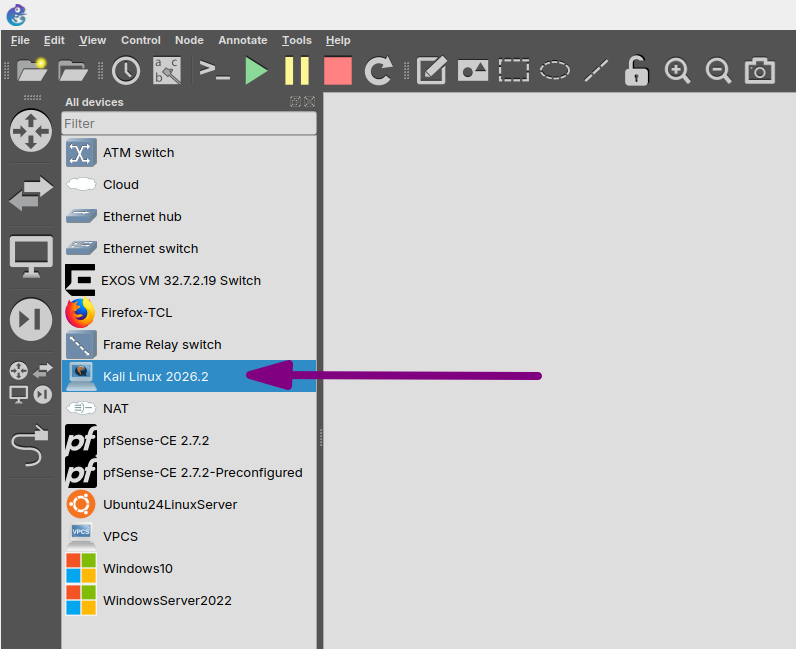
Kali Linux should now be available in the Devices menu.
Please note: The default memory allocation for the Kali image is 2 GB. It is recommended to increase the amount of memory allocated to the image.