Deploy an Instance from ISO
Creating an Instance from ISO
NOTE!
-
When deploying Windows 11 or Windows Server 2025, UEFI is required. You can configure UEFI under Advanced Mode when creating the instance or when editing the instance afterwards.
See Advanced Mode or Edit Instance for more information. -
When deploying Windows, the best performance is achieved by selecting a template instead of an ISO.
-
When installing Windows from an ISO, the root disk controller will use SATA, which can result in a performance degradation of approximately 10–20%.
-
Virtio drivers are required for Windows to communicate with the portal and to use Virtio-based hardware.
Instances are Virtual machines created from a template or ISO.
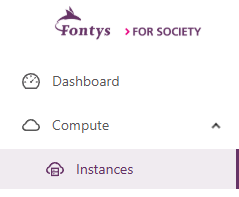
To deploy an instance, go to Compute > Instances in the left-hand menu of the Educloud panel and select “Add Instance.”
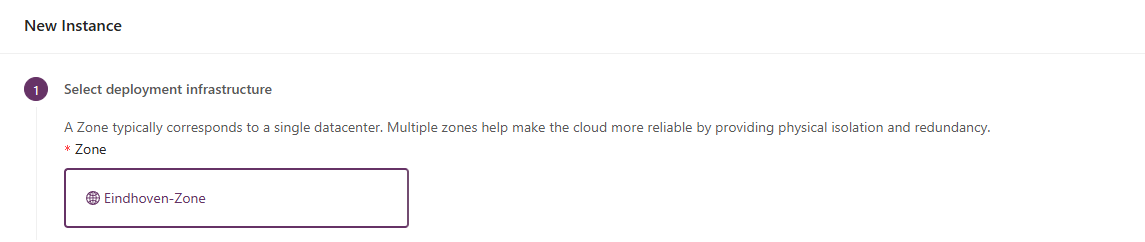
The Zone is already pre-filled based on the location of EduCloud.
Choose the ISO image to deploy the virtual machine of your choice.
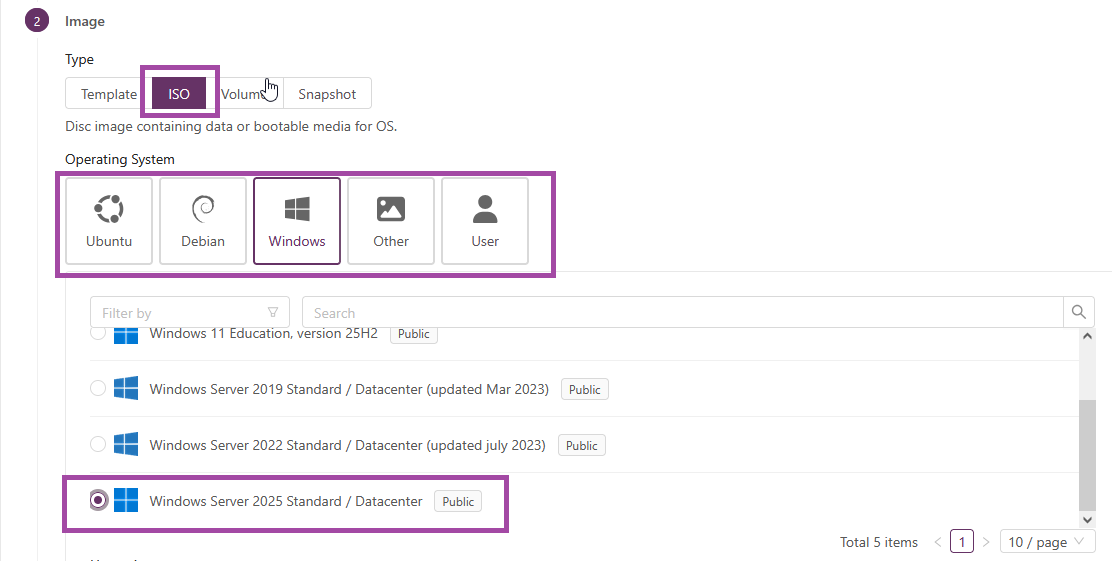
when selecting an Image the current resources for this image are displayed on the right side of the screen.
Compute Offerings
Choose an offering to assign the CPU and memory resources needed for the selected image.
You can also scale the resources up or down after installation. Therefore, start with the resources you need and scale up only when necessary.
This way, you can avoid using more resources than necessary upfront.
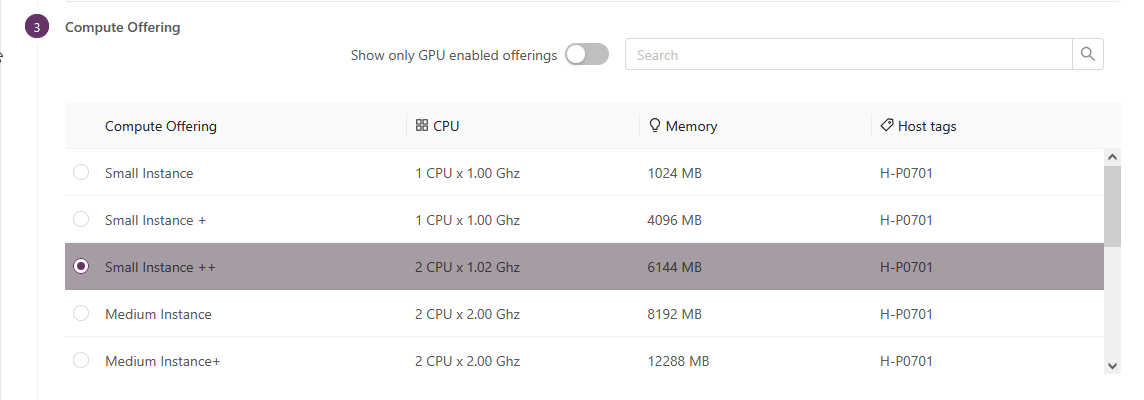
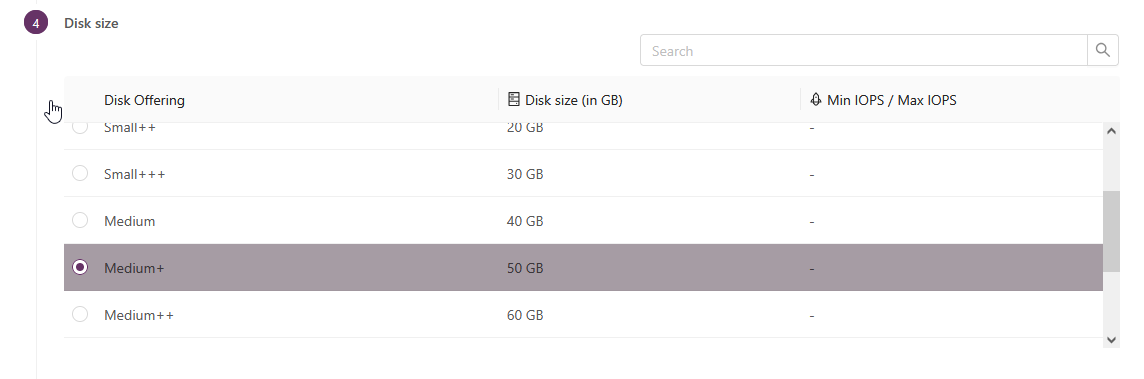
Choose one of the available disk offerings to select the size of the root disk for the operating system.
You can always extend the disk size, but you cannot shrink it. Therefore, start with the size you need and increase the disk size later if necessary.
This way, you can avoid using more storage than necessary upfront.
Network Offering
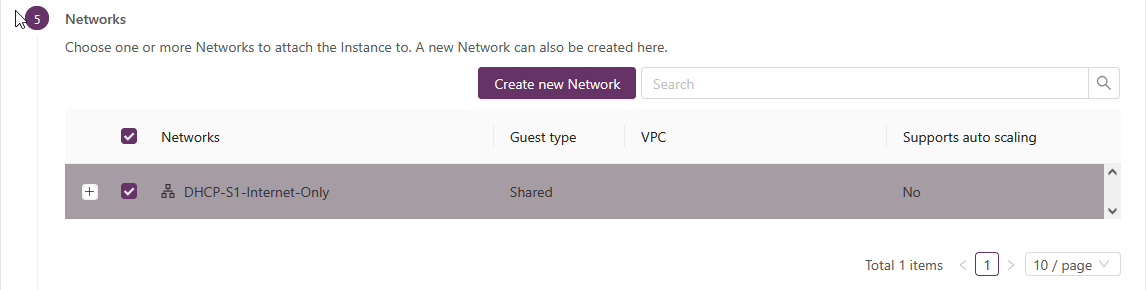
Choose the Network on which the server will be deployed.
Shared Network
When selecting the shared network DHCP-Sx-Internet-Only, the server will have access to the internet.
This network is shared with other users and provides only a basic outgoing internet connection. It is not possible to create any incoming firewall rules on this network.
If you require incoming firewall rules, you need to create a isolated network.
Isolated Network
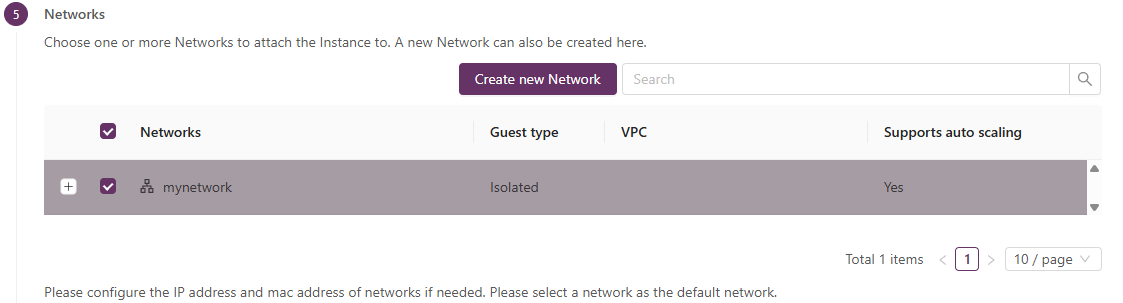
If you want to create a network where you can manage your own virtual firewall, you can create a new network and select Isolated network.
This will create a virtual network with its own virtual firewall.
For more details, see the Create a New Network section in the manual for the creation of a Isolated Network.
For more details, see the setting up the firewall section in the manual for setting up firewall rules.
Advanced Mode
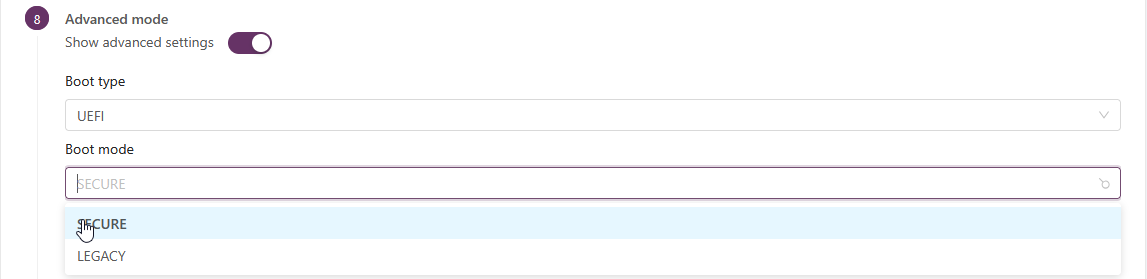
When installing Windows 11 or Windows Server 2025, UEFI is required.
You can select UEFI when configuring the instance by selecting Advanced Mode, or you can edit the instance afterwards as described in Edit Instance.
Instance Name
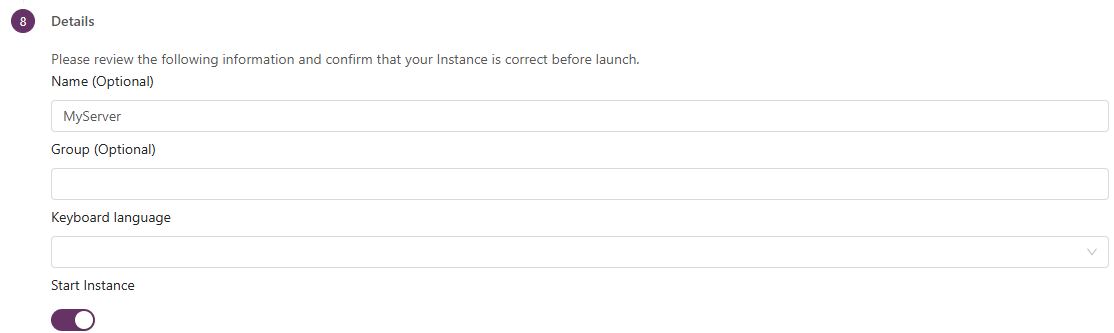
when no name is given a random name will be assigned. Also noted that a name can contain:
ASCII letters ‘a’ trough ‘z’ the digits ‘0’ trough ‘9’, and the hyphen (‘-’), must be between 1 and 63 characters long and can’s start or end with “_” and can’t start with a digit.
You can change some of the image properties before and after installation.
If you want to change any properties before installation, deselect Start Instance.
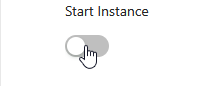
Click Launch Instance or, if Start Instance is deselected, click Create Instance to begin the installation.

Edit Instance
!Note: to edit an instance it needs to be powered off.
After the create instance is selected you can edit the instance. go to Compute > Instances in the left-hand menu and click on your Instance
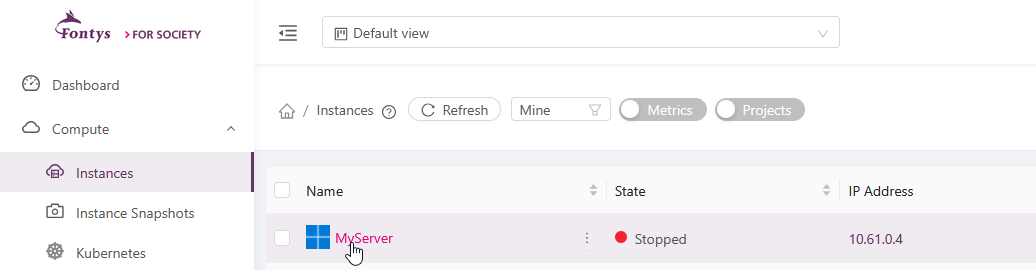
Click on the settings
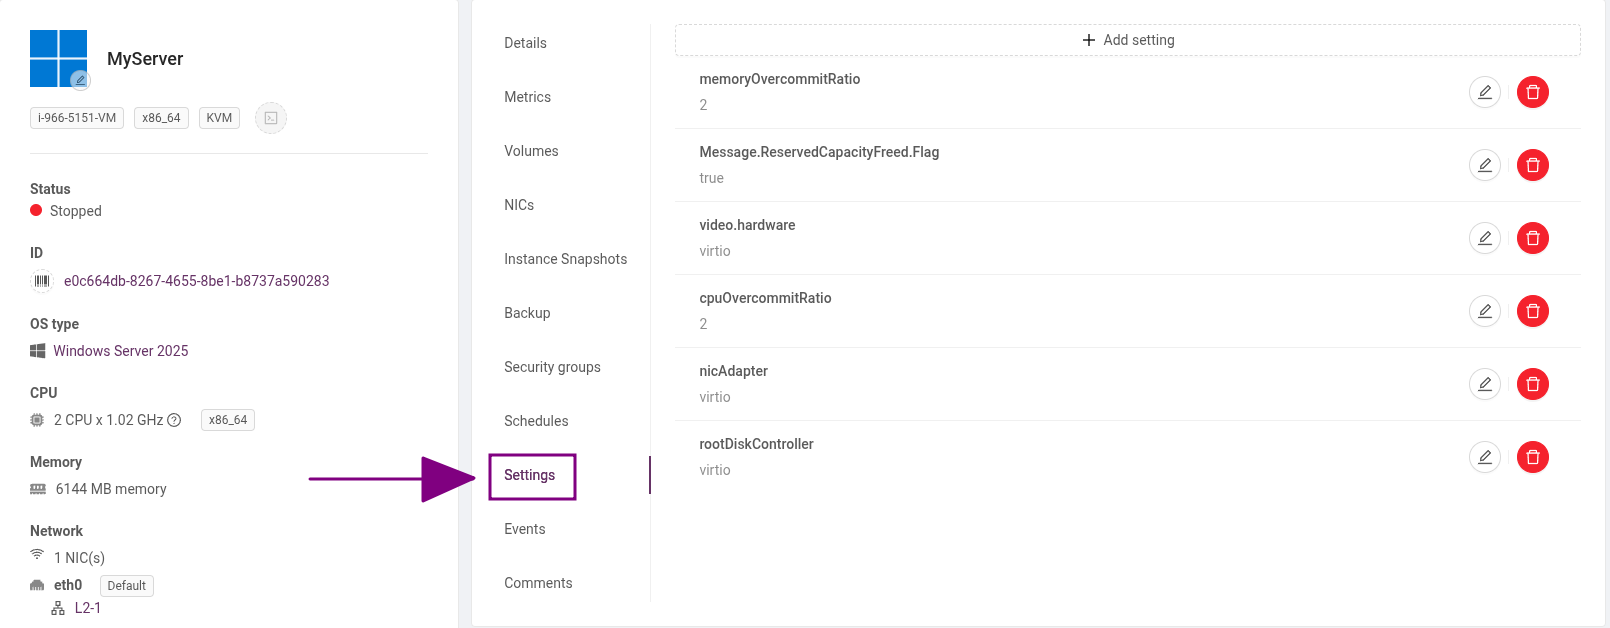
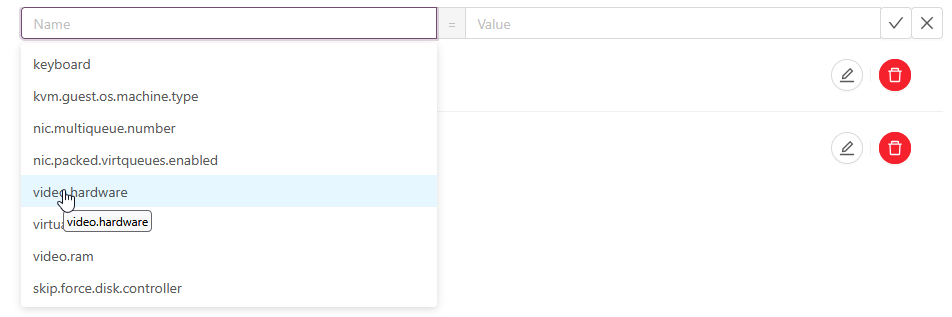
Select the Settings and click on Add setting.
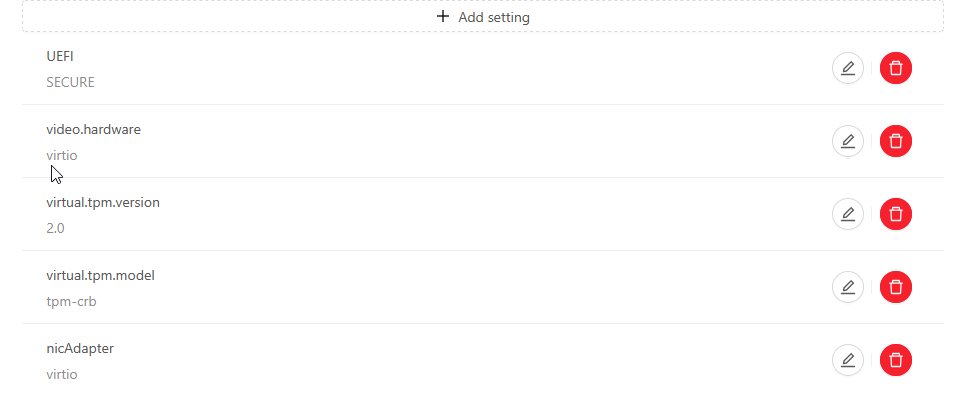
Click on Name and select the setting you want to add and click on value to select the type of hardware
The best performance for windows is gained by adding the Virtio Nic and Virtio Video adapter.
Requirement is that the Virtio Drivers are installed you can install the virtio drivers bij mounting the Virtio ISO.
Note: When deploying Windows, the best performance is achieved by selecting a template instead of an ISO.
When installing Windows from an ISO, the root disk controller will use SATA, which can result in a performance degradation of approximately 10–20%.
After finishing you can start the instance.
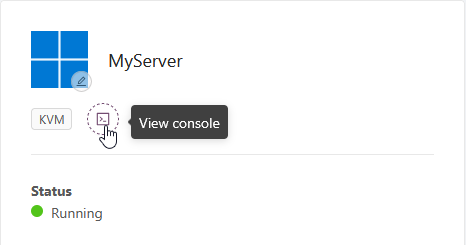
Open the Console
When the instance starts, you can open the console to complete the installation.
Detach Iso
When the installation is complete, you need to detach the ISO. Otherwise, the server will boot from the ISO again when it is rebooted.
To detach the ISO, select the vertical ellipsis and click Detach ISO.

Installing the Virtio Drivers.
To install the Virtio drivers, attach the Virtio ISO.

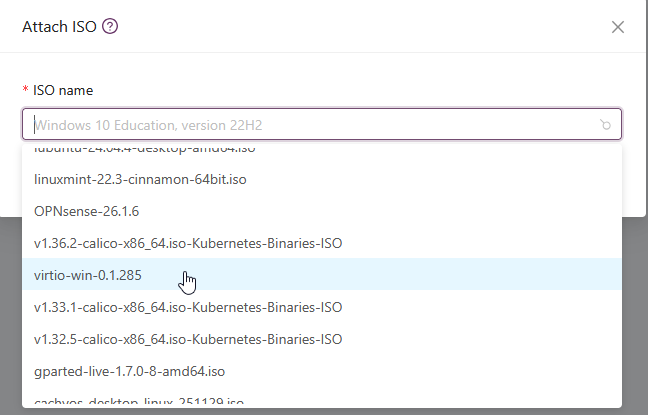
After attaching the virtio-win.iso, you can install the Virtio drivers. After finishing you can detach the Virtio ISO.
After deploying the instance, if you have chosen to create an isolated network, you can configure egress and ingress rules as needed.
See the documentation: setting up the firewall