Deploy an Instance
Creating an Instance
Instances are Virtual machines created from a template or ISO.
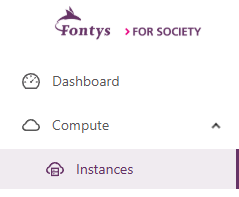
To deploy an instance, go to Compute > Instances in the left-hand menu of the Educloud panel and select “Add Instance.”
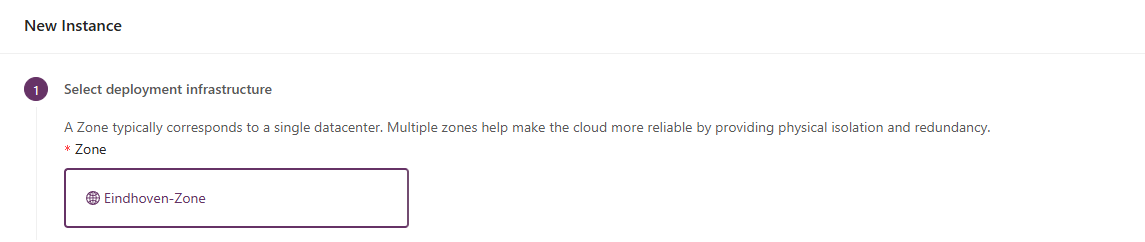
The Zone is already pre-filled based on the location of EduCloud.
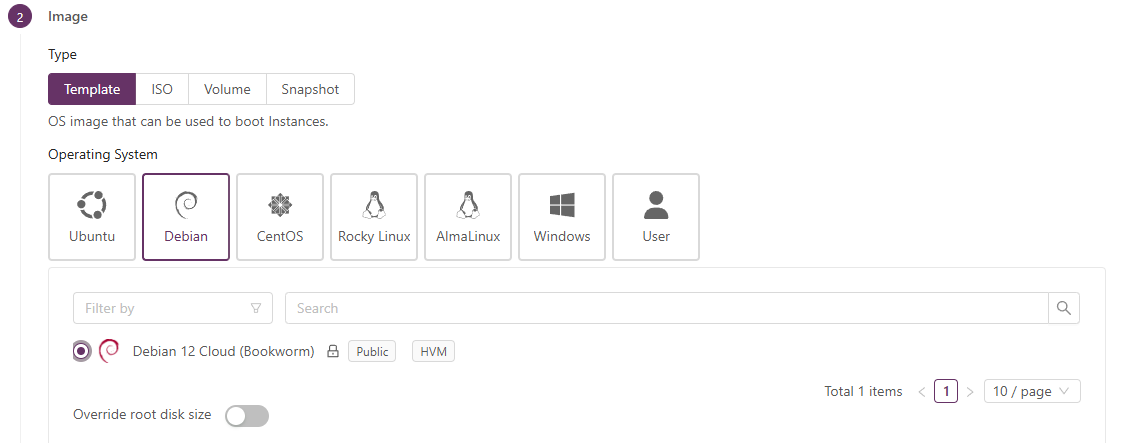
Choose a template or ISO image to deploy the virtual machine of your choice.
Templates are pre-configured and optimized images designed for the EduCloud environment.
when selecting an Image the current resources for this image are displayed on the right side of the screen.
Compute Offerings
Choose an offering to assign the CPU and Memory needed for the selected image.

If needed, the root disk size can be adjusted using “Override root disk offering.”
Choose one of the available offerings to increase the size of the root disk.

Second Disk Offering
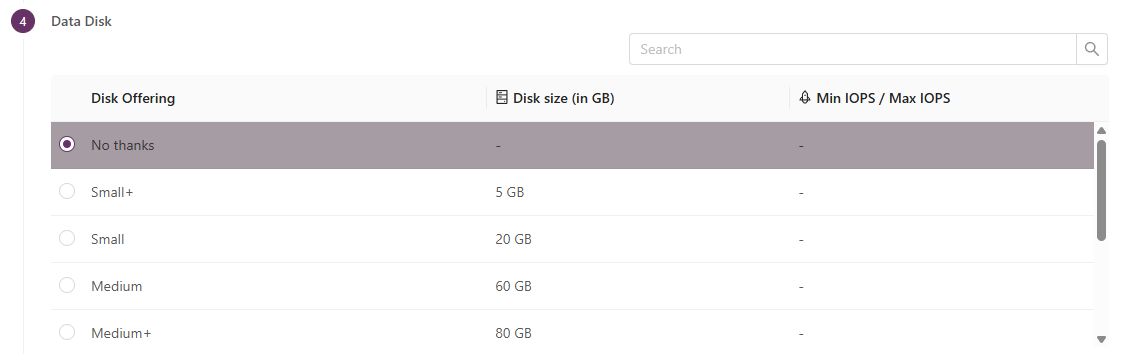
When needed a second disk (Data Disk) can be assigned to the image this optional and most of the time not needed.
Network Offering
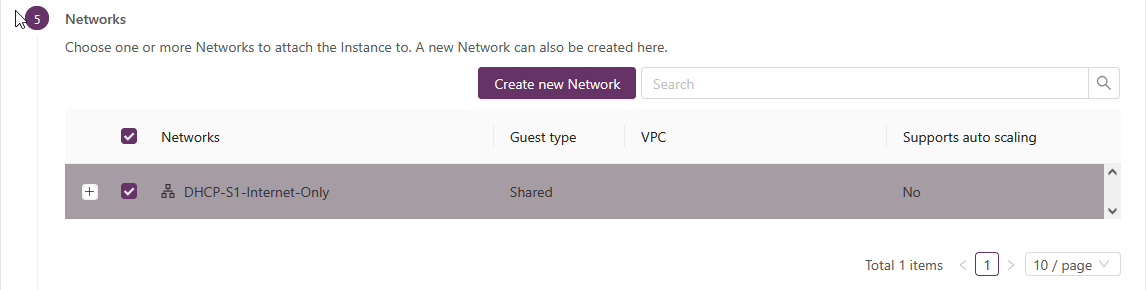
Choose the Network on which the server will be deployed.
Shared Network
When selecting the shared network DHCP-Sx-Internet-Only, the server will have access to the internet.
This network is shared with other users and provides only a basic outgoing internet connection. It is not possible to create any incoming firewall rules on this network.
If you require incoming firewall rules, you need to create a isolated network.
Isolated Network
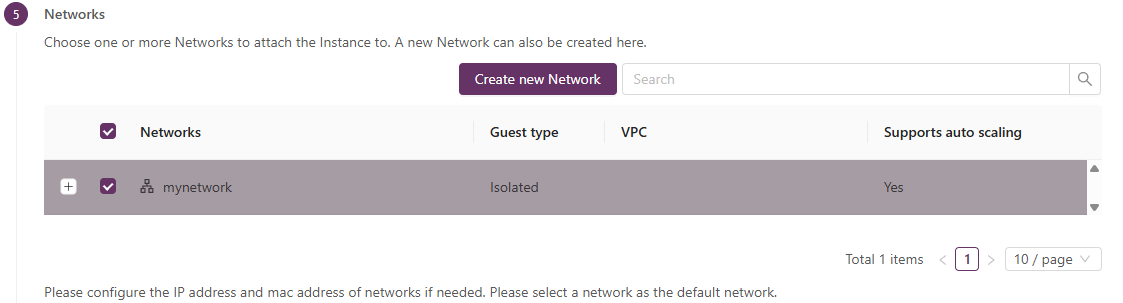
If you want to create a network where you can manage your own virtual firewall, you can create a new network and select Isolated network.
This will create a virtual network with its own virtual firewall.
For more details, see the Create a New Network section in the manual for the creation of a Isolated Network.
For more details, see the setting up the firewall section in the manual for setting up firewall rules.
SSH KeyPair
To associate an SHH key pair to the server that is, if you created an SSH Key pair under the Compute section. select the key pair. If not, leave it blank.

Enter a name and click “Launch virtual Machine” After the server is deployed a random password will show up in the panel if the chosen template is configured with "password set".
Instance Name
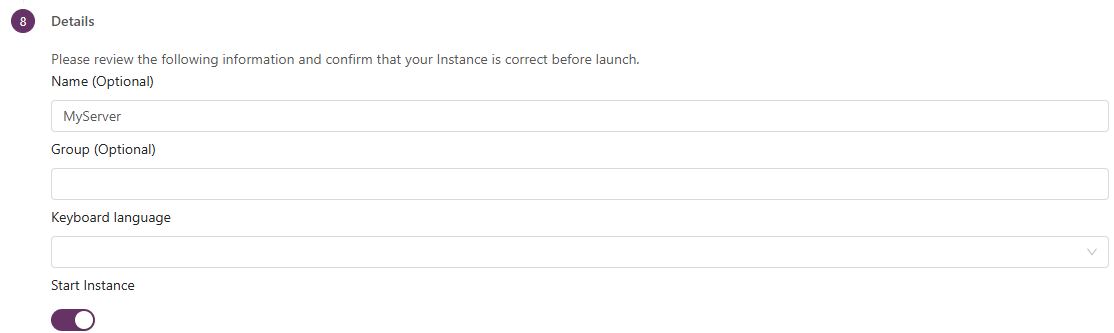
when no name is given a random name will be assigned. Also noted that a name can contain:
ASCII letters ‘a’ trough ‘z’ the digits ‘0’ trough ‘9’, and the hyphen (‘-’), must be between 1 and 63 characters long and can’s start or end with “_” and can’t start with a digit.
Note: the default login name is the same as the distribution of the selected template.
         for example:

         when choosing the template debian the default username is debian

         when choosing the template Rocky Linux the default username is rocky

         when choosing the template ubuntu the default username is ubuntu
Once the instance is deployed to an isolated network, you can configure egress and ingress rules if needed
See the documentation: setting up the firewall